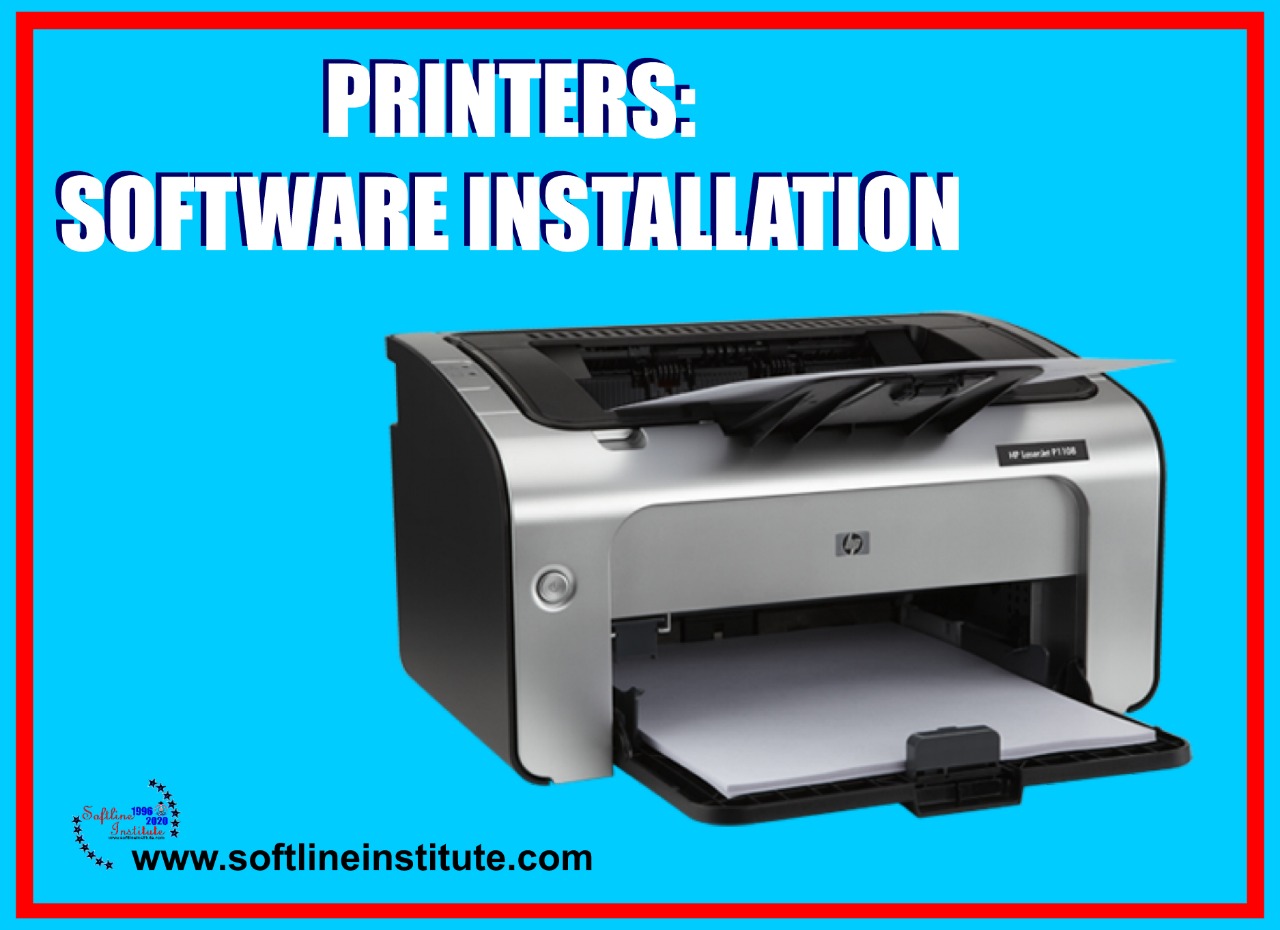
Before you can use your printer, you must first install the printer’s Software. Your printer’s Software include printer drivers that support different versions of Microsoft Windows.
Minimum System Requirements
-Pentium processor
-32 MB RAM (Window 95 and Window 98)
-20MB free hard disk space
Installation Considerations
If you have any problems during the installation, try the following:
-Check the power cord connections and power source
-Make sure you are using a high quality IEEE
-1284 compliant parallel cable.
The following section lists several different methods of installation. Use the method most appropriate for your Computer System.
Make sure that you quit all the software that is currently running, such as Microsoft Office manager, virus checker, and fax utilities, before starting the installation.
Standard Installation for Windows 95; Windows 98; Windows 2000; and NT 4.0
To install your printer software for Windows 95, Windows 98, Windows 2000, or NT4.0, refer to the following steps:
1 – Insert HP LaserJet 6L Pro CD into CD drive.
Note: If the installation dialog screen does not appear, click Start then click Run. Type your X:/ Setup, replacing “X” with the letter of your CD drive, and click OK.
2 – Click the Install button.
Note: HP recommends the Express install for most users.
3 – Follow the instructions on your screen to complete the installation.
4 – Remove the CD when the installation is complete.
Note: If the next time you restart your computer and your screen displays “New hardware detected” and lists the HP LaserJet 6L Pro printer, select “Do not install a driver (Windows will not prompt you again)” and click OK.
Standard Installation for Windows 3.x
To install your printer software for 3.x, refers to the following steps:
1 – Quit all currently running programs.
2 – Insert the HP LaserJet 6L Pro CD drive.
3 – Select the drivers directory.
4 – Select the language directory of your choice
5 – Select the “Win3x” directory.
6 – Select the Disk-1 directory.
7 – Run setup.exe.
8 – Follow the instructions on your screen.
9 – When the installation program asks you to install the HP LaserJet 6L ro Disk-2, enter
x:\drivers\language\Win3x\disk2
(replace “x:” with the drive letter of your CD ROM, and replace “language”with the name of the language directory you chose in step 4 [for example, the directory “en” contains the english driver. ]).
10 Remove the CD when the installation is complete.
Alternative Installation for Windows 95 and Windows 98
1 – Quit all currently running programs.
2 – Insert HP LaserJet 6L Pro CD and click OK.
3 – Click Start, point to Settings/Printers and then click printers.
4 – Double-click Add Printer.
5 – Click Next until you come to the list Printer Manufacturers.
6 – Click have disk.
7 – Click Browse.
8 – Select the drive that contains the HP LaserJet 6L Pro CD.
9 – Select the directory for the language of your choice.
The file named “hpbgb.inf” will appear in the file name box.
10 – Select the directory “Win9x” to access the drivers for windows 95 and Windows 98.
11 – Click OK, and then click OK again. The name of the printer driver will appear.
12 – Click next, and then click Next again.
13 – Remove the CD when the installation is complete.
1 – Insert the Windows 6L Pro CD into the CD drive.
2 – Click Start, point to Settings, and then click Printers. The printer’s folder appears. Click Add Printer.
3 – Select Local printer or Network printer.
4 – If Local Printer or Network Printer Port. Click Next.
5 – Click Next.
6 – Click Have Disk.
7 – Click Browse.
8 – Select the Driver
9 – Select the directory for the language of your choice. The file named “hpvfg2.inf” will appear in the file name box.
10 – Select the directory “nt” to access drivers for for windows NT and Windows 2000.
11 – Click Open and then click OK.
12 – Select your Hp LaserJet 6L Pro printer driver from the list, and then Click Next.
13 – Continue to follow the instructions on the screen.
Alternative Installation for Windows 3.x
To install your printer software for Windows 3.x, refer to the following steps:
1 – Quit all currently running programs.
2 – Insert the HP LaserJet 6L Pro CD into the CD drive.
3 – From program Manager, Open the MAin Group.
4 – Open Control Panel and Printers.
5 – Click Add. A list of Printers appears on your screen with Install Unlisted or Updated Printer highlighted.
6 – Click Install.
7 – Click Browse.
8 – Select the drive that contains the HP LaserJet 6L Pro CD.
9 – Select the directory for the language of your choice. (For example, directory “en” contains the English driver)
10 – Select the directly “Win3x” to access the drivers for Windows 3.1 and Windows 3.2.
11 – Click OK, and then click OK. The name of the printer driver appears.
12 – Follow the instructions on your screen to complete the installation.
13 – Remove the CD when the installation is complete.
