Working in the Document Window
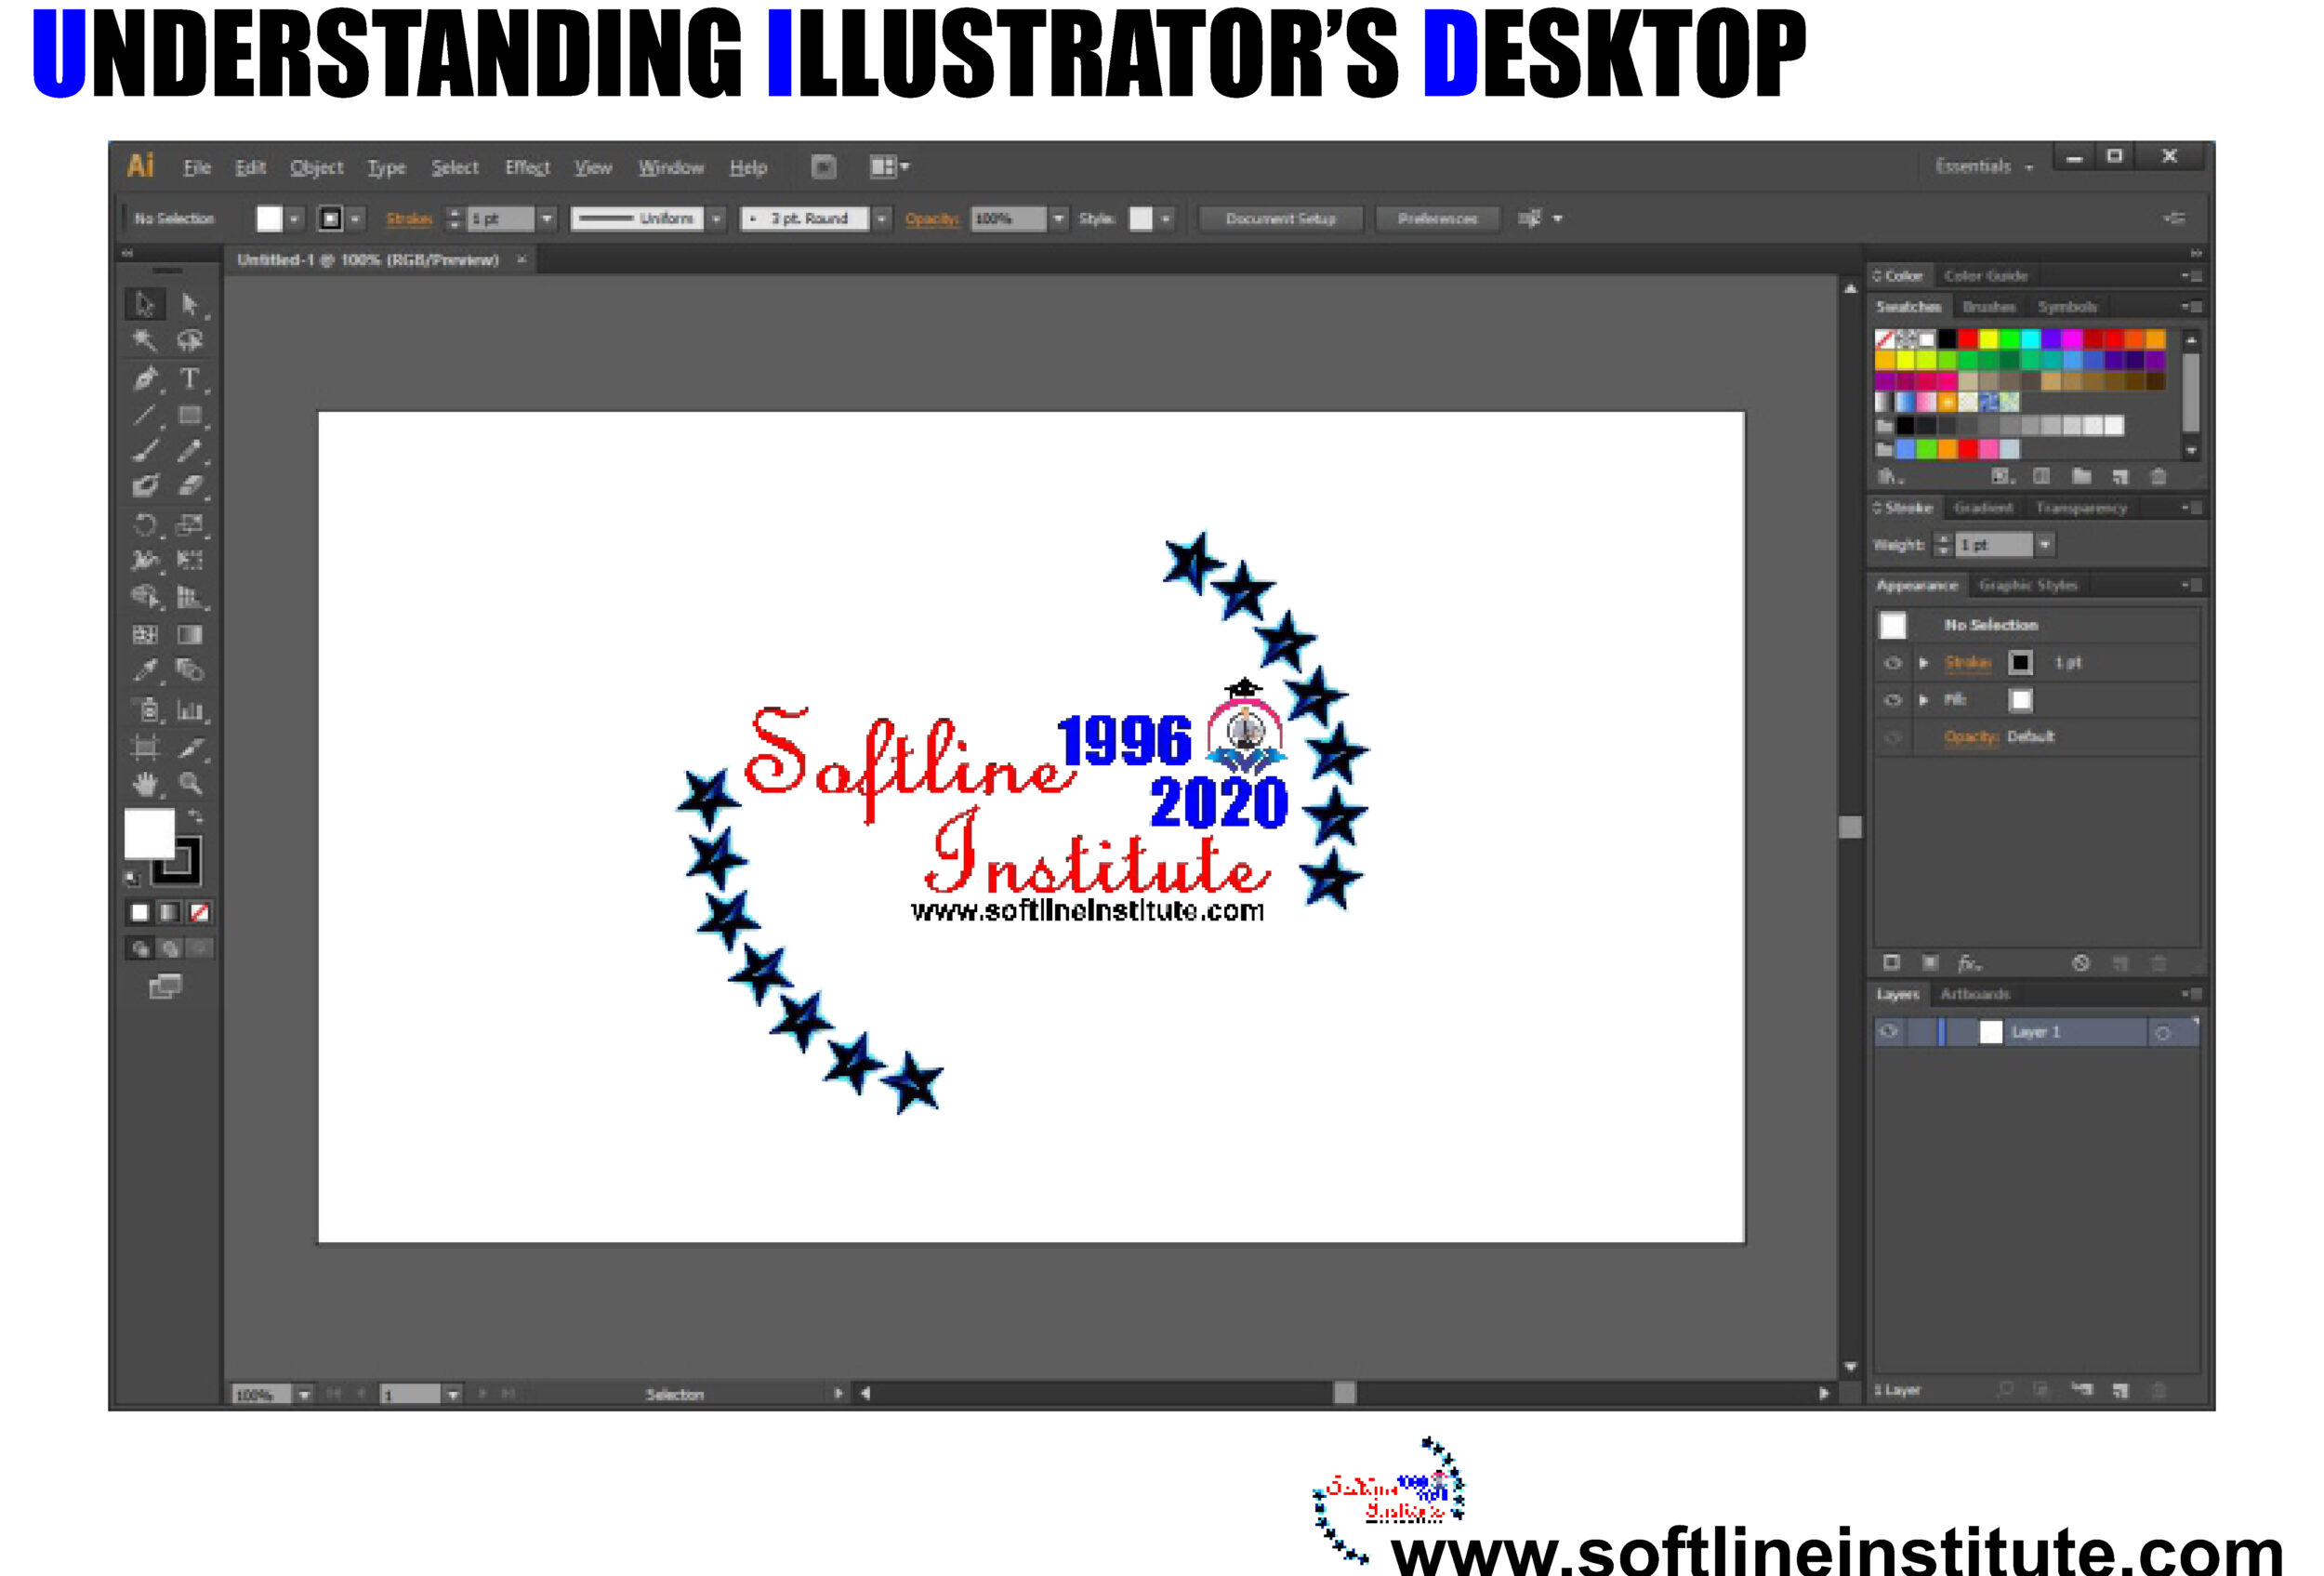
The document window of Illustrator’s is where you perform all your work. It contains the two mail elements: Artboard and Pasteboard.
Tip: You can move the printable area represented by the dashed lines. Using the Print Tiling tool (one of the optional modes of the Hand tool). The Print Tiling tool is covered later in this chapter.
Illustrator’s windows act like windows in most other programs. You use the title bar at the top of the window to move the window around your screen. On the Title bar, is the name of the document. If you’ve not yet saved your document, the name of the document is Untitled-1. With the number changing for each new document you create. (Hint: save it as soon as you create!). Next to the the Title of the document is the current viewing percentage relative to actual size.
In order to these buttons,Illustrator offers three options that help you quickly access your files. The Cascade, Tile and Arrange icons commands are all accessible via the Window Menu:
1. Cascade: When you have multiple files open, this command lines up all the title bars in a staggered (stairstep) arrangement going down and to the right.
2. Tile: With multiple files open, this command tiles the windows next to one another to fill the Application Window.
3. Arrange Icons: This command arranges your open files into neat rows.
Understanding the Artboard
The Artboard is the area of your document that prints. The Area of the Artboard doesn’t have to be the same as the printed document. The Artboard is designated by black lines that form a rectangle in the document window and shows the largest area in which you can print. To set the size for the Artboard, click the Artboard tol, which allows you to change the size of the Artboard by dragging handles just as you would with the bounding Box (where you lo drag the handles to resize length nd width selection). If you don;t want to see the Artboard (perhaps because you’re working on a large document that won’t entirely fit on the Artboard), choose view > Hide Artboard. To show the Artboard again, choose View > Show Artboard. Hiding the Artboard doesn’t impact your Art. It remains in view when the Artboard is hidden.
Tip: To change the printing page size, use the media options in the Print dialog box. To access the Print dialog box, choose File > Prin
Getting to know the Work Area
When using illustrator’s, the Worst thing that can happen is for you to lose an illustration on which you’re working. “Where’d it all go?” you cry. This can happen very easily in Illustrator. Just a click few times on the grey parts of the scroll bars at the bottom of the Document Window. Each time you click, you move about half the width (or height) of your window, and a few check later, your page and everything on it is no longer in front of you. Instead, you see the work area’s scratch area, usually a vast expense of white nothingness.
The Work Area Measures 227.5*227.5 inches, which works about 360 square feet of drawing space. At actual size, you see only a very small section of the Artboard. A little letter size document looks extremely tiny on a work area this big. If you get lost in the Work Area, a quick way to back is to choose View > Actual Size. This puts your page in the center of the Window, with the 100% view, at which time you can see the least part of your drawing. To see the whole page quickly, choose View > Fit in Window, which resizes the view down to where you can see the Entire page.
Using The Print Tiling Tool
The print tiling tool, which you access via the Hand Tool (which I discuss later in this chapter), changes how much of your document prints. It does this by moving the printable area of the document without moving any printable objects in the Document. Clicking and Dragging the lower-left corner of the page relocates the printable area of the page to the place where you release the mouse button.
Tip: Double-clicking the Print Tiling Tool slot resets the printable area dotted line to its original position on the page.
The Print Tiling tool is useful when your document is larger than the biggest image area that your printer can print. the tool allows you to tile several pages to create one large page out of several sheets of paper. Tiling is a Process by which an image is assembled by using several pieces of paper arranged in a grid formation. A portion of the Image prints on each page, and when you fit the pages together, you can view the Image in its entirety. Tiling is good only for rough prints because you typically need to manually trim about a quarter-inch around the edge of each sheet of paper; most printers don’t print to the edge of the paper.